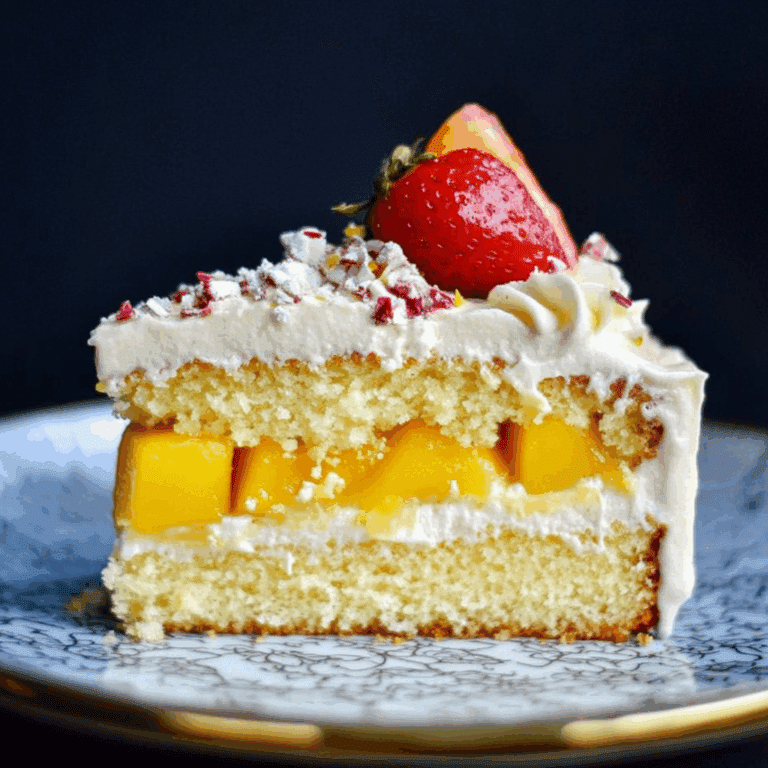
Easy Cake Pop Recipes Everyone Will Love

If you’re searching for a delightful treat that’s easy to make and loved by everyone, look no further than the Cake Pop. Packed with flavorful, plant-based ingredients and a fun, bite-sized form, these sweet treats can brighten up any occasion or satisfy your afternoon cravings. Whether you’re a seasoned baker or just starting out, this recipe brings together simple steps and delicious flavors that guarantee a smile with every bite.
Why You’ll Love This Recipe
- Quick and Simple: These cake pops come together fast, perfect for busy schedules or last-minute celebrations.
- Customizable Flavors: You can easily adapt the flavors to suit any preference or dietary need.
- Fun to Make: Creating cake pops is a hands-on activity that’s enjoyable for all ages.
- Perfect Portions: The bite-sized nature makes them ideal for portion control and sharing.
- Impressive Presentation: They look professionally crafted, making them great for parties and gifts.
Ingredients You’ll Need
The ingredients for your cake pops are refreshingly simple yet play a crucial role in texture and taste. Each component comes together to create that perfect balance of moist cake and creamy coating, with colors and flavors that pop.
- Cake Base: Choose your favorite moist cake, crumbled finely for easy shaping.
- Frosting (plant-based): Acts as the binder to hold your cake spheres together and adds a flavor boost.
- Chocolate Coating (natural): A smooth, meltable plant-based chocolate for dipping and decorating.
- Sprinkles or Crushed Nuts: Adds texture and a festive touch to your finished pops.
- Natural gelling agent: Used for extra firmness if you want a more structured pop.
Variations for Cake Pop
Customizing your cake pops is as easy as mixing and matching flavors or decorations. Feel free to experiment with different ideas below to create your own signature sweet bites.
- Fruit-Infused: Add pureed berries or citrus zest to the frosting for a fresh, natural tang.
- Nutty Crunch: Roll the cake pops in crushed pistachios or almonds instead of typical sprinkles.
- Matcha Delight: Incorporate matcha powder into the frosting and coating for a green tea twist.
- Chocolate Overload: Use dark and white plant-based chocolate coatings layered for a marbled effect.
- Tropical Twist: Mix shredded coconut into the cake crumbs or coat with toasted coconut flakes.

How to Make Cake Pop
Step 1: Prepare Your Cake Base
Start by baking your favorite moist plant-based cake or using a store-bought option. Once cooled, crumble the cake finely into a large mixing bowl to ensure the texture is easy to mold.
Step 2: Mix with Frosting (plant-based)
Gently fold in your plant-based frosting a little at a time until the mixture holds together when pressed. The consistency should be moist enough to shape but not sticky.
Step 3: Shape the Cake Pops
Using your hands or a small scoop, form the cake mixture into evenly sized balls. Place each on a parchment-lined tray, then chill in the fridge for about 30 minutes to firm up.
Step 4: Melt the Coating
Slowly melt your plant-based chocolate coating in a double boiler or microwave, stirring often to keep it smooth and glossy.
Step 5: Dip and Decorate
Dip each chilled cake ball into the melted chocolate, gently tapping off the excess. Before the coating sets, sprinkle with your choice of decorations like crushed nuts or natural sprinkles for an extra pop of color.
Step 6: Let Set
Insert sticks into the pops if you like, then place them upright in a foam block or glass jar to dry completely. Once the coating hardens, they’re ready to enjoy or gift!
Pro Tips for Making Cake Pop
- Consistency Check: Make sure the cake and frosting mixture holds shape when pressed but isn’t too wet.
- Chill Well: Refrigerate cake balls before dipping to prevent them from falling apart in the coating.
- Use Quality Coating: Opt for smooth, good-quality plant-based chocolate for the best finish and taste.
- Decorate Quickly: Add sprinkles or toppings immediately after dipping before the coating sets.
- Storage Matters: Keep cake pops refrigerated in an airtight container to maintain freshness.
How to Serve Cake Pop
Garnishes
Top your cake pops with vibrant crushed pistachios, colorful natural sprinkles, or delicate shredded coconut to elevate the look and flavor.
Side Dishes
Pair these delightful bites with fresh fruit slices or a small bowl of plant-based yogurt for a balanced dessert experience.
Creative Ways to Present
Display cake pops standing upright in a decorative jar filled with natural gelling agent or colorful beads to create an eye-catching centerpiece for any event.
Make Ahead and Storage
Storing Leftovers
Place any leftover cake pops in an airtight container and refrigerate for up to four days to keep them fresh and moist.
Freezing
If you’d like to make cake pops ahead of time, freeze them individually wrapped in parchment paper inside a freezer-safe container; thaw in the fridge before serving.
Reheating
To enjoy chilled cake pops, simply let them sit at room temperature for 10-15 minutes to soften slightly, no reheating needed for the best texture.
FAQs
Can I make cake pops without a stick?
Absolutely! You can shape the cake balls the same way and serve them as bite-sized truffles on a decorative tray without sticks.
What if my cake pop mixture is too dry?
Add a small amount of extra plant-based frosting or a touch of plant-based milk to achieve a moist, moldable consistency.
How do I prevent the coating from cracking?
Make sure the cake pops are well chilled before dipping and avoid dipping too quickly to keep the coating smooth and intact.
Can I use gluten-free cake for this recipe?
Yes, gluten-free cakes work wonderfully and allow you to enjoy cake pops without gluten while keeping the same great taste.
What are good alternatives for sprinkles?
Try crushed nuts, shredded coconut, mini chocolate chips (plant-based), or even edible flower petals for interesting textures and visuals.
Final Thoughts
Cake pops are the perfect little indulgence that combines fun, flavor, and beauty in every bite. With these easy-to-follow recipes and tips, you’ll be whipping up vibrant, delicious treats that everyone will adore, no matter the occasion. So grab your ingredients, get creative, and enjoy the sweet satisfaction of homemade cake pops!
Related Posts
- 5 Easy Whipped Cream Recipes You Must Try
- Perfect Pecan Pie Recipe for Every Occasion
- 7 Easy Ways to Make Perfect Apple Pie

Cake Pop
- Total Time: 1 hour
- Yield: 20-24 cake pops 1x
- Diet: Gluten Free
Description
Delight in these quick and simple plant-based Cake Pops, perfect for any celebration or a fun snack. Made with moist cake crumbs, creamy plant-based frosting, and dipped in smooth plant-based chocolate coating, these bite-sized treats are customizable, visually impressive, and ideal for sharing.
Ingredients
Cake Base
- 1 batch of your favorite moist plant-based cake, crumbled finely (about 3 cups)
Frosting (plant-based)
- 1/2 cup plant-based frosting (adjust amount to achieve moldable consistency)
Chocolate Coating (natural, plant-based)
- 1 cup plant-based chocolate coating (for melting and dipping)
Decorations
- Sprinkles (natural) or crushed nuts (e.g., pistachios, almonds)
- Shredded coconut (optional, toasted or plain)
Additional
- Natural gelling agent (optional, for extra firmness)
- Plant-based sticks (optional)
Instructions
- Prepare Your Cake Base: Start by baking your favorite moist plant-based cake or using a store-bought option. Once cooled, crumble the cake finely into a large mixing bowl to ensure the texture is easy to mold.
- Mix with Frosting (plant-based): Gently fold in your plant-based frosting a little at a time until the mixture holds together when pressed. The consistency should be moist enough to shape but not sticky.
- Shape the Cake Pops: Using your hands or a small scoop, form the cake mixture into evenly sized balls. Place each on a parchment-lined tray, then chill in the fridge for about 30 minutes to firm up.
- Melt the Coating: Slowly melt your plant-based chocolate coating in a double boiler or microwave, stirring often to keep it smooth and glossy.
- Dip and Decorate: Dip each chilled cake ball into the melted chocolate, gently tapping off the excess. Before the coating sets, sprinkle with your choice of decorations like crushed nuts or natural sprinkles for an extra pop of color.
- Let Set: Insert sticks into the pops if you like, then place them upright in a foam block or glass jar to dry completely. Once the coating hardens, they’re ready to enjoy or gift!
Notes
- Make sure the cake and frosting mixture holds shape when pressed but isn’t too wet.
- Refrigerate cake balls before dipping to prevent them from falling apart in the coating.
- Opt for smooth, good-quality plant-based chocolate for the best finish and taste.
- Add sprinkles or toppings immediately after dipping before the coating sets.
- Keep cake pops refrigerated in an airtight container to maintain freshness.
- Prep Time: 20 minutes
- Cook Time: 30 minutes (if baking cake)
- Category: Appetizers
- Method: Baking
Nutrition
- Serving Size: 1 cake pop
- Calories: 150
- Sugar: 12g
- Sodium: 50mg
- Fat: 8g
- Saturated Fat: 5g
- Unsaturated Fat: 3g
- Trans Fat: 0g
- Carbohydrates: 18g
- Fiber: 1g
- Protein: 1g
- Cholesterol: 0mg
Keywords: cake pops, plant-based dessert, bite-sized treats, party snacks, customizable cake pops